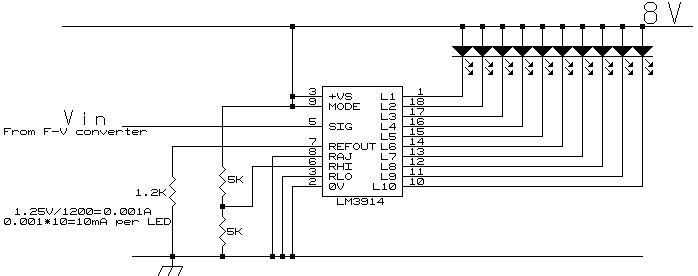
This circuit gives a voltage that corresponds
the the current RPM. The advantage over a analogue meter is a reading that is more accurate since the "needle" is much quicker to react. In fact since the output is a voltage you could connect it
to a moving needle if you require. Background information
--------------------------------------------------------------------------------
The RPM can be converted to a frequency quite easily. There
are two sparks per rotation and we are working in seconds so simply devide the RPM by 30! (thus 8000rpm is actually 266 Hertz).
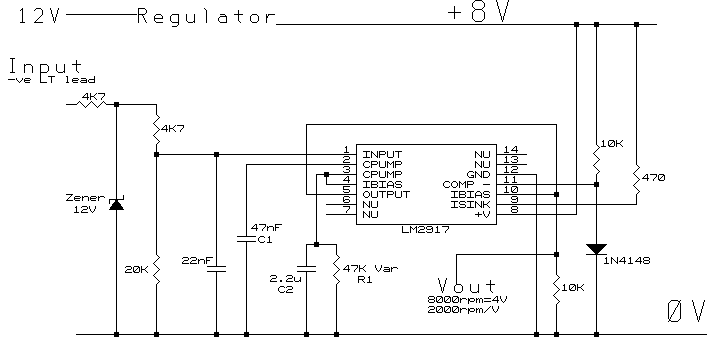
The frequency input to the circuit can be taken from the -Ve terminal of the
coil. You would expect the voltage to swing by about 12 volts since the contact breakers simply switch the battery to the coil. Unfortunately the coil is an inductor and the condensor is a capacitor
thus we have a highly resonant circuit which can hit over 40 volts. Protection is shown in the circuit diagram.
Circuit design
--------------------------------------------------------------------------------
The conversion from frequency to voltage is done by the LM2917 chip which is a fairly simple 14 pin device. Only a few
components are required to make it perform.
The formula is shown below:
Vout can be found by using the formula: Vout = Vcc * R1 * C1 * Fin
Where Vcc is the supply, Fin is the frequency input.
It is a good idea to make R1 a variable resistor. On making the circuit you may find that the output of the chip isn't quite right, twiddling the value of R1 helps to get the right output.
If you choose values of Vcc=8, R1=40K, C1=47nF and Fin=266 then the output is 4 Volts.
Therefore if the output is linear then we have 1V for every 2000rpm.
The ripple voltage has to be
considered but for this design the ripple is 33mV at 2000rpm (or a swing of 66hertz around ideal voltage).
The circuit is shown below: